Planning for site availability during Umbraco Cloud outages
Update - We published this article in March 2019, and we are often contacted by companies asking if we can set up an 'Umbraco Cloud Failover' solution on their behalf, we can, and you can find out more here on our dedicated Umbraco Cloud Failover service page)
Recently we’ve noted a couple of issues with Umbraco cloud outages - which isn’t surprising as it is a huge service to run with lots of underlying infrastructures.
A customer asked us to look into the availability of their sites during these outages and we’ve come up with a solution that has kept them online during the recent outage.
Getting started
The solution below assumes the following:
- You’ve got an existing Umbraco cloud site with a custom domain and your own SSL certificate.
- You’ve got an Azure subscription and access to manage DNS for your domain
- The outage is with the Umbraco Cloud web workers and that the SQL Azure database and Git repository for your cloud site is available.
- Your Umbraco media is stored in Azure blob storage - this setup is documented here: https://our.umbraco.com/documentation/Umbraco-Cloud/Set-Up/Media/
In the most recent outage, we’ve been able to access the git repository and the database throughout.
Solution Overview
We are going to deploy our Umbraco Application from our Umbraco Cloud Git repository to a new Azure webapp. We will point the database connection string for this WebApp to the existing Umbraco cloud site’s SQL database. (hosted in SQL Azure)
We will then setup Azure Traffic Manager to failover to our new Azure web application when it detects that Umbraco cloud isn’t responding.
Preparation
You’ll need the connection string for your Umbraco cloud SQL database and the URL of your git repository.
In the Umbraco cloud portal go to Settings -> Connection Details
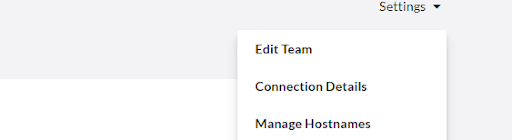
You should then be able to scroll down and see the database connection details for your live environment.
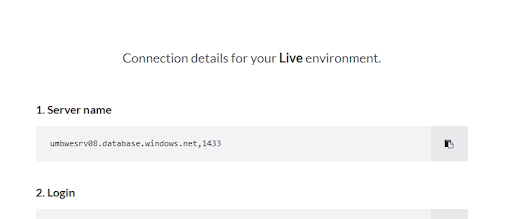
You’ll need to form a connection string in the format below, based on these details: Server=tcp:umbwesrv08.database.windows.net,1433;Database=mydb;User ID=myuserid@umbwesrv08;Password=mypassword;Trusted_Connection=False;Encrypt=True;
You may want to keep these details stored somewhere safe, in case you can’t access the Umbraco Cloud portal during an outage.
Next you can click on the ‘How to connect my machine’ button in the Umbraco Cloud portal to get hold of the URL for your git repository.
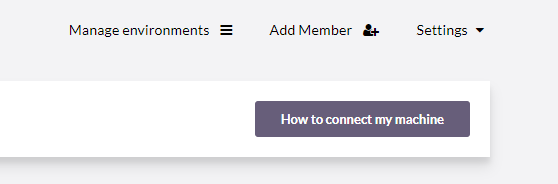
You’ll need to add the username and password to your git repository URL in the format: https://username:password@mycloudsite.scm.s1.umbraco.io/938e87b0-ff2c-4039-8950-aa5e43e21a70.git
Note: that an Umbraco cloud username is normally your email address so you will need to escape the @ character (which can be escaped as %40).
Create an Azure WebApp
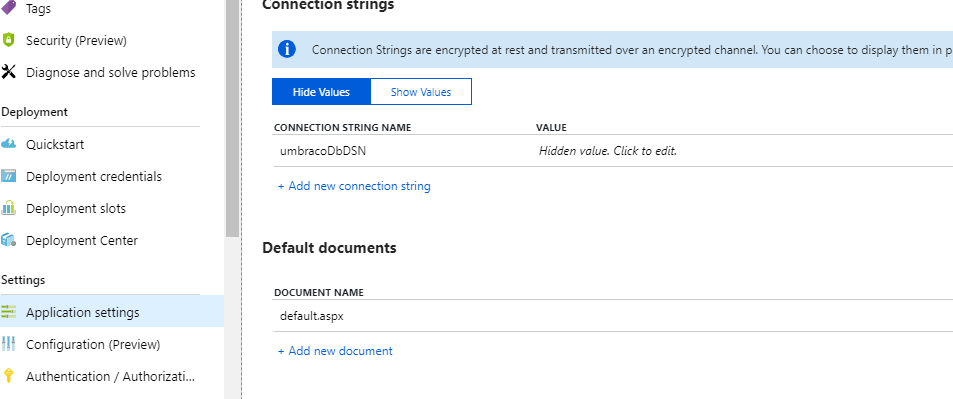
You can now create an Azure webapp using the Azure portal - and set the connection string you created earlier in the portal (it should be called umbracoDbDSN).
Next, we want to deploy our Umbraco Cloud Git repository to the webapp. In this example we’ll simply deploy the master branch of the cloud git repository to the webapp using the build in “Deployment centre” feature.
In a real-world scenario, this may not be an ideal solution - as the master branch may contain pending changes which haven’t been promoted to your live Umbraco cloud environment.
It would, however, be relatively straightforward to deploy a specific commit given some customisation.
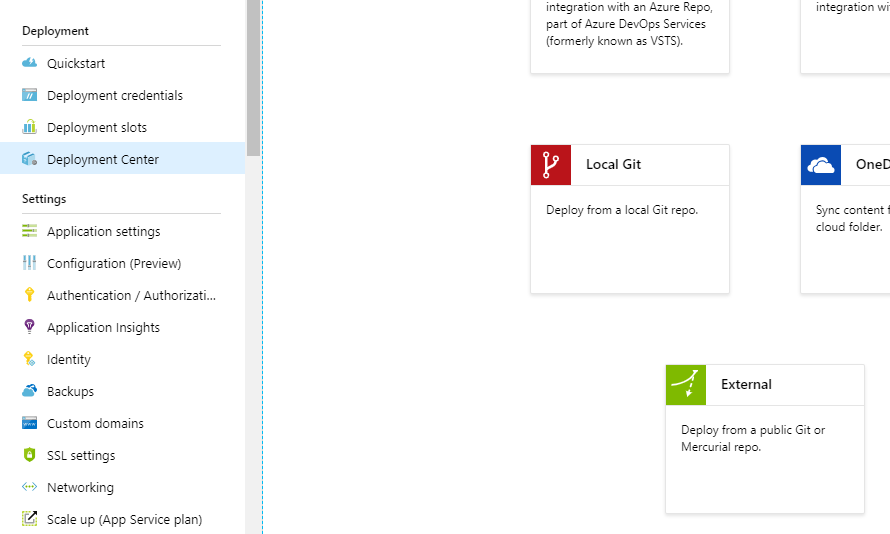
In the portal go to the Deployment Centre for the webapp and choose External to deploy to the webapp from an external git repository.
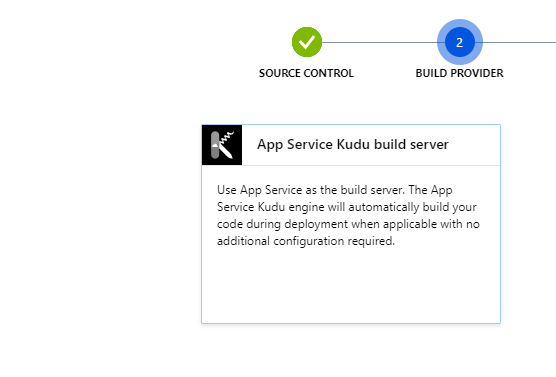
On the following step choose App Service Kudu build server
On the following step enter your Git repository URL that you created earlier:
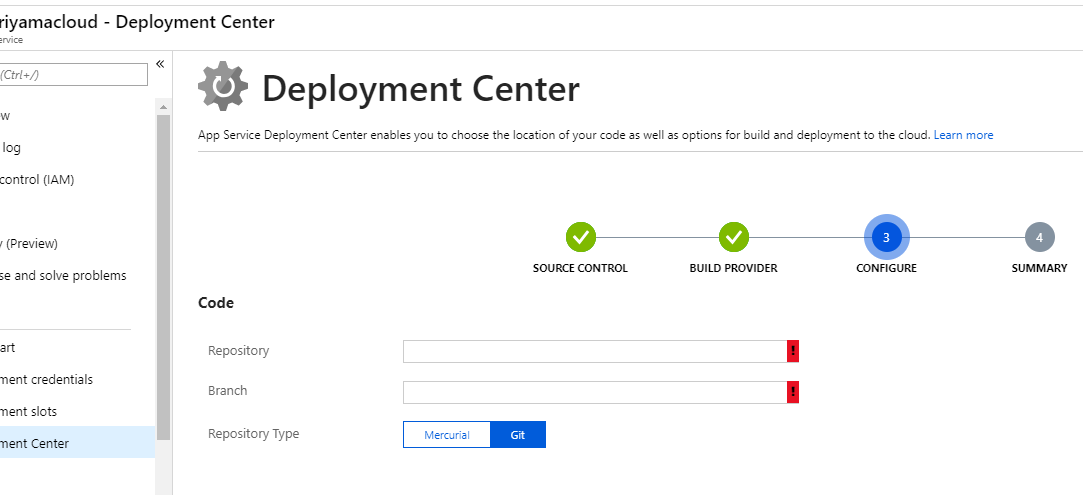
For the branch field enter master - in theory - you could use a custom branch here - if you wanted to deploy a specific version of the site into the app.
If you click continue - then Azure should sync the Umbraco cloud git repository to your webapp and you should be able to browse and run your Umbraco site.
DNS and traffic manager
Once you are happy that your site is running correctly in Azure app service - you will want to assign your site custom hostname to the Azure webapp and upload your SSL certificate to the Azure webapp.
To do this you will need to repoint your DNS to the Azure webapp using your DNS provider - which will make the webapp in Azure your live website - be sure that you understand the implications of doing this!
When setting this up we’ve found that it is important not to use the SSL only setting of Azure webapps - if you plan to proceed to use traffic manager.
In theory - you don’t need to use traffic manager at all, you could just point your domain at the webapp in Azure until any issues with Umbraco cloud are resolved and then revert DNS changes manually.
Azure won’t allow you to assign a hostname and SSL binding until DNS points at the Azure webapp - so you will need to add a CNAME record from your custom domain to your Azure webapp and wait for a few minutes.
Setting up traffic manager
From the Azure website:
Azure Traffic Manager is a DNS-based traffic load balancer that enables you to distribute traffic optimally to services across global Azure regions while providing high availability and responsiveness.
In our scenario this means that we can route traffic to Umbraco cloud - but if it becomes unavailable for some reason then traffic manager can start to route traffic to the Azure WebApp that we set up in the previous step - to ensure continuity of service.
When Umbraco cloud recovers - traffic will be routed back to it.
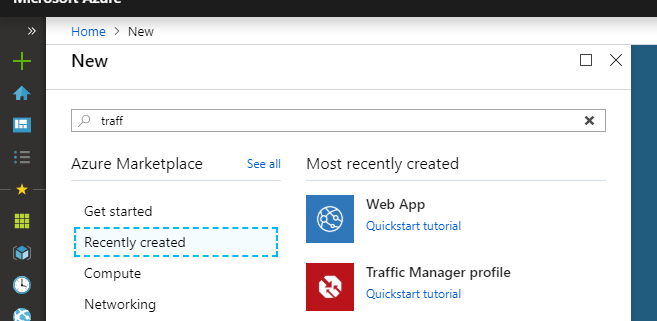
Create a traffic manager profile
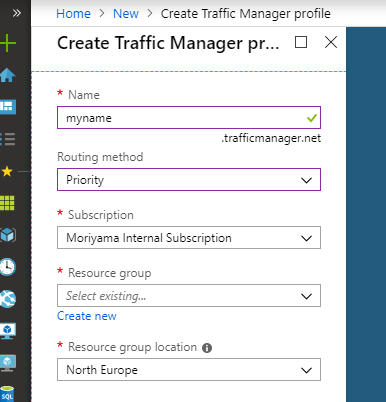
In the Azure Portal create a traffic manager profile:
On the subsequent screen choose a friendly DNS name for your traffic manager and make sure the routing method is set to Priority.
Once the resource is created - we’ll want to visit the configuration screen:
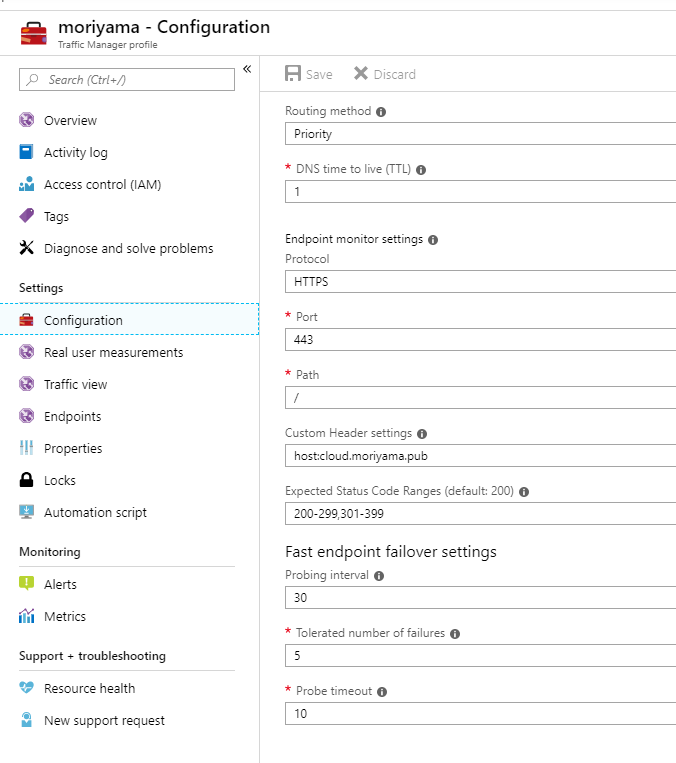
We changed our protocol and path - to probe endpoints for health on HTTPS and port 443 - we also added an acceptable range of valid HTTP responses and a custom host header in the form of:
host:www.mydomain.com
Traffic manager will monitor all of the endpoints that you add to see if they are healthy based on these details, so if for example, Umbraco cloud returns 5 x 500 errors in a row, it will start to route traffic to our Azure webapp.
Adding endpoints
Next, we want to add our Umbraco cloud site, and our failover Azure WebApp as Endpoints in traffic manager:
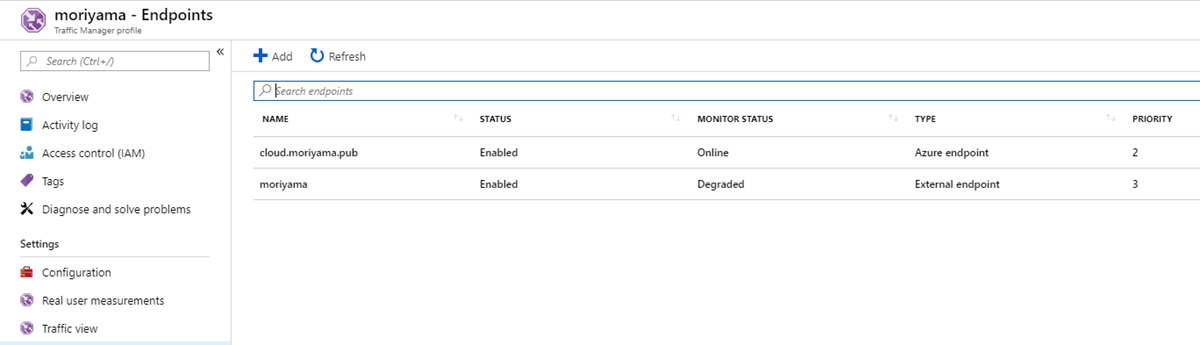
In the screenshot above, you can see that our Umbraco cloud endpoint is added as an external endpoint and our Azure webapp as an Azure endpoint
The configuration of the Umbraco cloud endpoint is as follows:
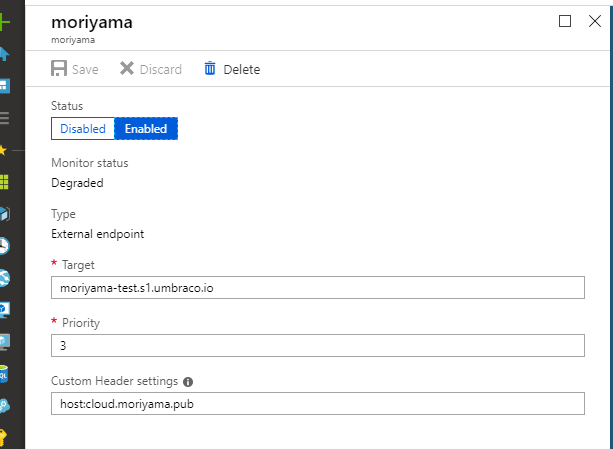
We use the Umbraco Cloud hostname as the target and add a custom host header which is our own custom domain name. The priority should be set to 1, meaning that it will be used if it is available.
At the time of writing you can see that traffic manager has marked our Umbraco cloud site as Degraded as it is experiencing downtime.
Our Azure webapp endpoint configuration looks like this:
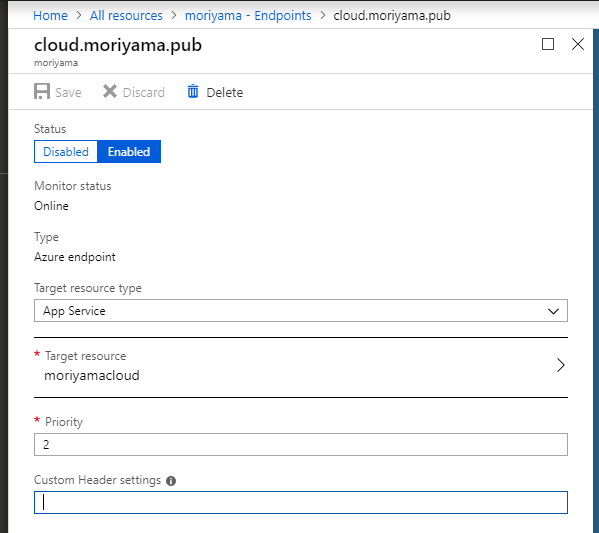
If you choose the Target resource type as “App Service” you will be able to pick your Azure webapp from a list.
In this case the priority should be set to 2 - as this is a higher number than our Umbraco cloud endpoint, traffic will only be routed to it once the Umbraco cloud endpoint is degraded.
Switch DNS
The last thing that you will need to do is modify your DNS again so that rather than pointing directly at the Azure webapp. You are pointing at traffic manager - so you’d change the CNAME for www.mysite.com to point at mysite.trafficmanager.net.
After DNS propagation, your failover should be in place and working.
Some Caveats
This was a solution that we put together in response to a crisis - and am sharing here in fairly draft form, because it may help some people out of a difficult situation.
It has worked well for us, but there may be some nuances and edge cases that we haven’t understood completely. If you do encounter any issues, then please let us know and we will update the post accordingly.
We would recommend that you have a content freeze in place - while running on your failover web app - though we haven’t fully reasoned this through yet.
Bonus: Scaling for Umbraco cloud?
As mentioned earlier in the post - traffic manager can route based on load, or geographic location as well as on a failover basis. This approach could be used if you wanted to scale out your Umbraco cloud site - or host in your own Azure subscription or on premise.
We’ve prototyped this approach successfully with some very specific configuration related to Umbraco load balancing - which we plan to blog about at a later date.
A message of support for Umbraco HQ
Umbraco cloud is a fantastic effort to make Umbraco easy to develop host and deploy. It is such a massive undertaking but we are confident that any issues of stability that are present right now, will soon be a thing of the past - and this article will hopefully become completely redundant.
This article is really techie - I need help!?
If you do need help with your Umbraco cloud setup - or Umbraco support in general - please feel free to give us a call or drop us a line to speak about an Umbraco support contract.